
Showing posts with label quilt blocks. Show all posts

Thursday, April 28, 2016

Intentional Piecing: Tell Me A Story


My adaptation of the Tell Me A Story quilt from Intentional Piecing

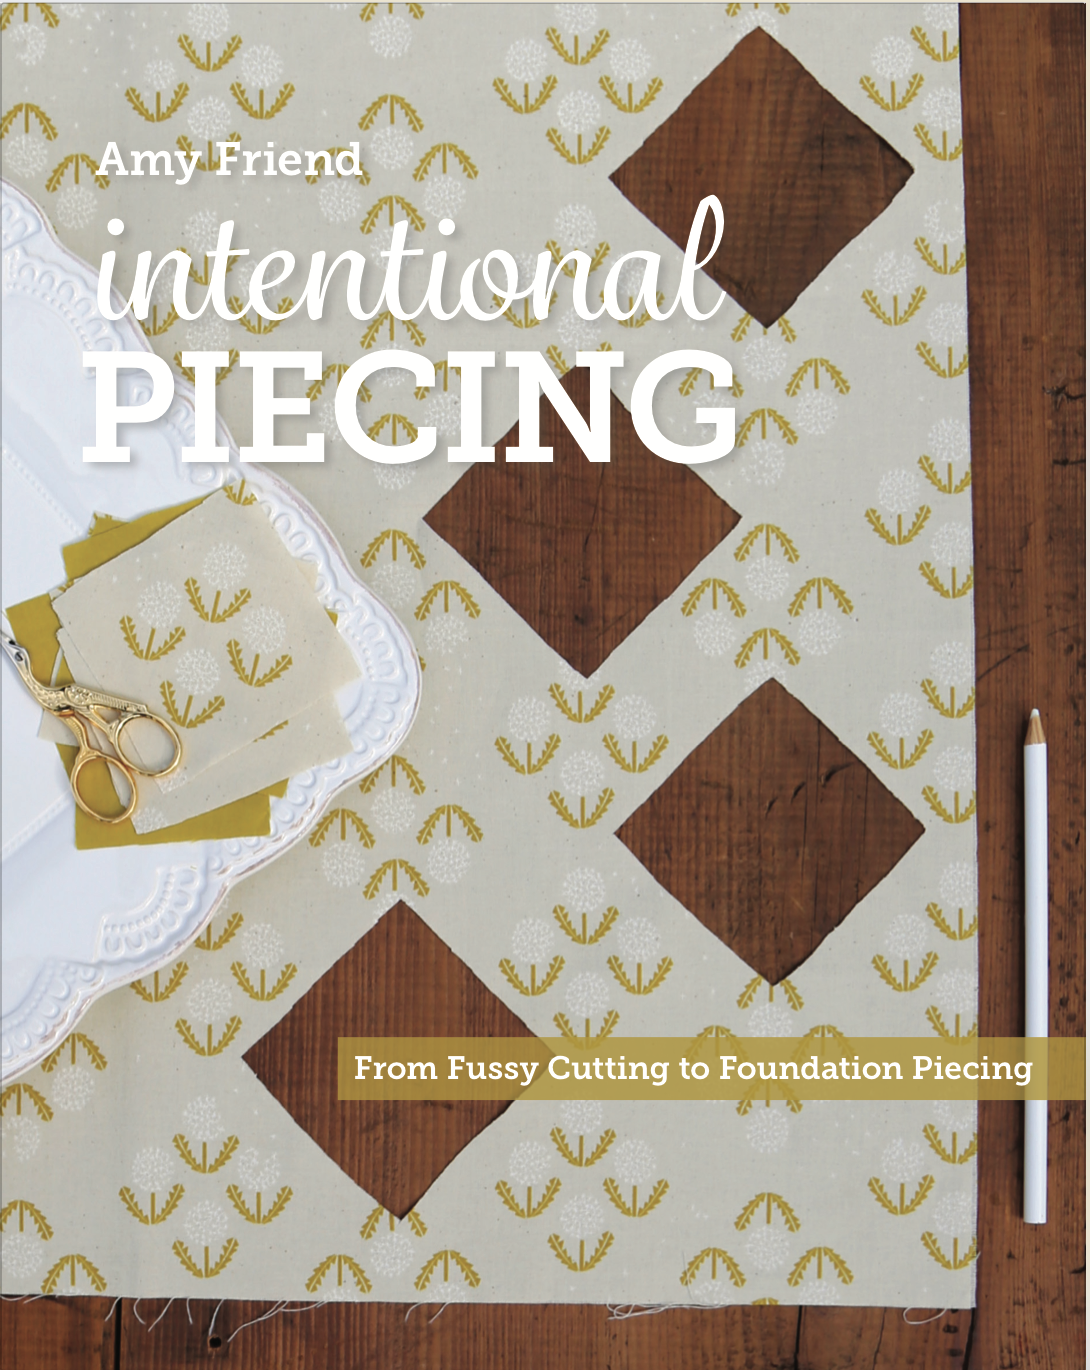
I have to tell you about a new book that I absolutely love. It is Intentional Piecing: From Fussy Cutting to Foundation Piecing by Amy Friend. You probably know who Amy is from her blog During Quiet Time and her many publications and patterns. The premise of the book is to use fussy cut fabric in clever ways. There are so many great foundation paper pieced blocks, but I also have some of the other projects on my list like the cute little clutch. I had the good fortune to be able to help with the book production at Lucky Spool too and it was so hard not to drop everything and make something from the book! I have been waiting to finally dive in and be able to share it!


Tell Me A Story Quilt Stitched Storytelling Event


Amy has a Tell Me A Story quilt stitched storytelling event going on right now. For every block you make and post to Instagram until June 1, you are entered to win a lovely bundle of fabric. The full details on it are here. The instagram tag #TellMeAStoryQuilt is fun to follow!

That stack of fabric on the left is the prize! Lots of good fussy-cut options there!

I dove right in and couldn't stop. These things are like block crack! They go together quickly and easily and it was fun to find a use for some novelty prints I've had stashed away. I seriously thought that I didn't have that many novelty fabrics before I started putting these together. I guess I have more than I thought. My theme is loosely fairy tales and childhood stories. That was an easy one to have on my mind since I have to small kids that I read to on a daily basis. I was impressed that when my daughter saw the blocks, she exclaimed "Mommy, these are all like story blocks!" I see some fun times looking at the little details and making up our own stories together.

Here are some of my favorite blocks out of the bunch I made:


I had so much fun making this beautiful, fun project and making it my own! I didn't use any background fabric in my blocks like in the gorgeous original and made up a little complimentary border. I've been in scrap busting mode so I figured I'd use up some odds and ends from my scrap bin.  The projects in this book are awesome for that! Now it is time to get it quilted but until then, the top is hanging up in my family room play corner already.

I used the same foundation pattern for the block to make the border.
It is a block with only the corners pieced in and then cut in half. Easy peasy modification!

Next up!

My next project from the book is the Stash Happy Tote. It will make a great teacher gift!


Discount!

Lucky Spool is offering a 30% discount on the book on their site! Use the code: FRIEND30

Tuesday, June 16, 2015

June Bee Sewcial block


I made these two blocks for Debbie for June's Bee Sewcial bee blocks. She requested mid-century modern and provided some great ideas on her Pinterest board. I know I had a bit of Alexander Calder on my mind when I made these, even though I think that is sort of a subtle influence. I chose to keep the color palette restrained for each block, but with some carryover of color from one to the other. I think they'll play nicely with some of the other blocks I've seen too.

Speaking of the other blocks, I am amazed by what my bee mates come up with every month. You can see all their brilliant work on the Flickr group. I'm lucky to be a part of this!

Sunday, May 31, 2015

May Bee Sewcial block

I really enjoyed seeing this on my design wall!

May was Marci's month for Bee Sewcial and I really enjoyed her assignment. It involved listening to music for inspiration which was a first for me. I thought the tune kind of bopped along so I wanted my block to mimic that feeling. She also had a lot of Sherri Lynn Wood's work on her inspiration board and wanted it to feel--even if abstractly--like scenery and houses. It also needed to be improv. (Plus there was more but this is the summary of what she was asking for.) This is what I came up with. I see houses, meadows, mountains and sky but it is up to your imagination to make them out.

Thursday, April 23, 2015

April Bee Sewcial blocks

These two are both for Di. I had a lot of fun with these blocks, and a bit of struggle in a good way. I'm getting more and more comfortable with improv. For me, it is something that I feel is improving with practice. I think a lot of that has to do with building up more confidence and learning to let go a bit more.

Busy, bubbly block with lots of texture. The bubbles were inset using the 6 min circle method.

I love how the blue curve on the right happened
to nearly line up with the form to the left.

Thursday, April 9, 2015

March Bee Sewcial blocks

Melissa requested transparency blocks using cool blues and greens with a little gray, in two sizes. Here are the blocks I made for her. I really enjoyed the challenge of achieving the transparency look.


This block is the first one I made. I doodled it on my computer and then made my own paper foundations to create it. It finishes to 14'' square. It would make a great pillow so I'm thinking of making another one.


This one is the second block that I'm giving her. It finishes to 9'' square. I made my own little quarter circle templates. Each quarter circle is 2 1/4'' finished. That led to some cursing but eventually I got a technique that worked. The key was glue basting the entire curve together before sewing, stitching with a small stitch length and slow sewing. The result was totally worth it, in my opinion!


This last one is staying with me. I again made my own paper foundation for it. I love the way it turned out but I trimmed it too short! I'll find a purpose for it someday!

Sunday, January 15, 2012

First block for the Swoon quilt

I started doing the Swoon Along and discovered how to construct that block in a way that is much more simple.

In a nutshell, you don't need to make the Swoon block out of so many pieces. The way I did it also allows you to not cut up some of the fabric so much. In my sample block here, you can see I fussy cut many of the pieces.


This is an overview for those that have the pattern: 
You don't make so many half square triangles and flying geese and you will SAVE TIME—yipee! You do use more fabric, but that is a good trade off in my book.*

Start with a big square—the same size as the square at the very center of the block—and sew smaller background and contrast squares off of its corners to start creating the units in step 7 and 8. Those smaller squares are the same size as the small squares used for the flying geese. You only need a 8 half square triangles and 4 flying geese for each Swoon block.

Sorry that I'm not writing this out more clearly. I'm trying to share what I know in a way that doesn't basically re-publish the pattern in the exact same size. 

*WARNING: The big caveat is that you cannot do this block construction with only a fat quarter of the fabric I fussy cut (I'm not talking about fussy cutting—just having enough to make the block in the most efficient way possible). You have to have a half yard of that print. It would be better to have more than a fat quarter of the other print (the one in the center star) although I did the math and it can be done. I think the original pattern also cuts it pretty close, so that if you are a person that pre-washes, you might consider getting more yardage too.

As an interesting aside and inspiration for colors:
As I was looking around, I did find out that the block is a known under a couple different names:
• variation of Carpenter's Wheel
• Rolling Star
• Star of Bethlehem
Here are some vintage examples of similar quilts. Aren't they fun!
LOVE the use of black and quirky block layout  ::  Well loved vintage quilt  ::  Gorgeous vintage version from the 50s out of solids  ::  Burnt Orange from the late 70's  ::   Worn one from the 50's  ::  Not sure the date on this one  ::  My fave: Solids from the 80's  (LOVE the block on the lower left)  ::  The more typical Carpenter's Wheel instructions and a version Marci Girl made with the same instructions (looks just like the block on the Swoon quilt)

Tuesday, July 13, 2010

Gotta fight the urge to hoard!


I started this today from stash fabrics. Most are Charm by Amy Butler but there is some Tracy Porter, Alexander Henry and Anna Marie Horner fabrics in there as well. All of it was stash I've been hoarding. It is so hard for me to use fabrics in my stash sometimes but I'm forcing myself to get over it. I know when I use it up is is most likely gone for good and that is surprisingly upsetting. Silly, but true!

Now I have to decide on the color of fabric for a top and bottom band, and whether or not I want to use the ric rac. I'm thinking yes.

The quilt is for my cousin's wife. Her baby shower is at the end of the month so I'll have to move pretty quickly on this one.

Snowbound in July


Boy could I use a bit of snow now! It was hot today and still 80 outside at 9pm.

I decided to join in on a free (yep, FREE!) block of the month, Snowbound, by the very talented Anne Sutton of Bunny Hill. It is super cute and although I think some of my fabrics will be a bit Christmas-y, I hope to get away with displaying it a little after the holidays too.

Fabrics:
Background for applique: Miss Emma's Garden by Anne Sutton for Henry Glass (this just worked out perfect since it is her fabric design and BOM, plus it was stash)
Appliques: solid cream from Moda for Nautical and Nice range for the snowmen, mostly charm packs or layer cake of Holly Jolly and Merry & Bright by Sandy Gervais for Moda plus scraps of whatever I have
Setting squares: reds and creams pulled out of my Merry & Bright layer cake + other stash and scraps

I've started this a bit backwards, completing all my setting squares before starting the applique. I joined a little behind too, but hope to work on it consistently the rest of the year. Each of the red squares are 1" finished, so it took me a while to finish these!

Tuesday, June 16, 2009

Patchwork lottery


I decided on a whim to make 3 blocks for a patchwork lottery here. It was simple, and I had some scraps to use up for it. It would be neat to win the blocks back, but I also am happy that someone else might be happy with them too.

Saturday, May 3, 2008

Progress on "girl quilt"


All star blocks are finished and sewn together. It is really coming together. Hopefully I'll get more time tomorrow to finish it up, or get closer. There is a small inner border and a strip pieced outer border left.

Wednesday, April 16, 2008

If it's a girl...


I've been working on this quilt a while back. It would be perfect if we have a girl so now I'm completing it. Aren't those Freshcut fabrics great!?

The pattern is a freebie called Star Fling from P&B Textiles by Terry Atkinson.

As you can see in the photo the blocks aren't sewn together yet. I'm going to have many leftovers so I can use them in another project too. When I get them sewn I'm going to play with the mix and see what works. Everything is cut including the borders, so I just need to find more time to sew.

Thursday, January 31, 2008

Getting my sew on


Not quite caught up for the quilt-a-long, but getting closer!

Monday, December 3, 2007

More quilt-a-long blocks


I just got caught up with block 2 and 3 today. It really is a mystery to me what it will look like after the blocks are done--even though AmandaJean posted what her finished quilt looked like. I'm dreaming up different ways to set the blocks. Its great to be using up some stash fabrics that I haven't touched in years.

During my "photo shoot", my cat kept trying to steal the show!

Thursday, November 15, 2007

Quilt-a-long


Did you see that Crazy Mom Quilts is having a quilt along? It sounds like a lot of fun and I'm looking forward to seeing what everyone uses for their fabrics. I'm using all stash, in traditional folksy colors. My backgrounds are not going to be all the same, but will be from the same line. Here's the first block. Don't you just love those acorns?

I've been working on the Sonnet quilt too. I'm making some headway on the half triangle corner thingies. :)

Do any of you know how to get your photos so that the text won't wrap around them?