Showing posts with label paper piecing. Show all posts

Tuesday, June 21, 2016

Tell Me a Story finish


I finished my Tell Me a Story quilt mini and my daughter has laid claim to it. It makes me happy to see her enjoy it so much! First, it goes to Fancy Tiger because I'll be teaching beginning foundation paper piecing later this summer. Teaching has been really wonderful. I hope my students not only gain some technical knowledge (in this case how to foundation paper piece) but also a great deal of confidence and encouragement. They inspire me by seeing quilt making through their eyes. Summer is going by so fast that I know it will be here before I know it!


Stats:

Pattern: Modified version of Tell Me a Story from Intentional Piecing by Amy Friend. I made it a wall hanging with 16 blocks instead of a larger quilt, used scraps for the background instead of a consistent fabric and used the template to make the pieced border instead of a solid border. The genius of the concept and design is all Amy though!

Fabric: all scraps from my stash, including some Kawaii, hen fabric produced and purchased in Germany, and bits I purchased from others on #thegreatfabricdestash on IG. Border is a color snubbed chambray from Robert Kaufman.

Quilting: I quilted it in a diagonal cross hatch that aligns with the blocks and extends out into the borders.

Thursday, April 28, 2016

Intentional Piecing: Tell Me A Story


My adaptation of the Tell Me A Story quilt from Intentional Piecing

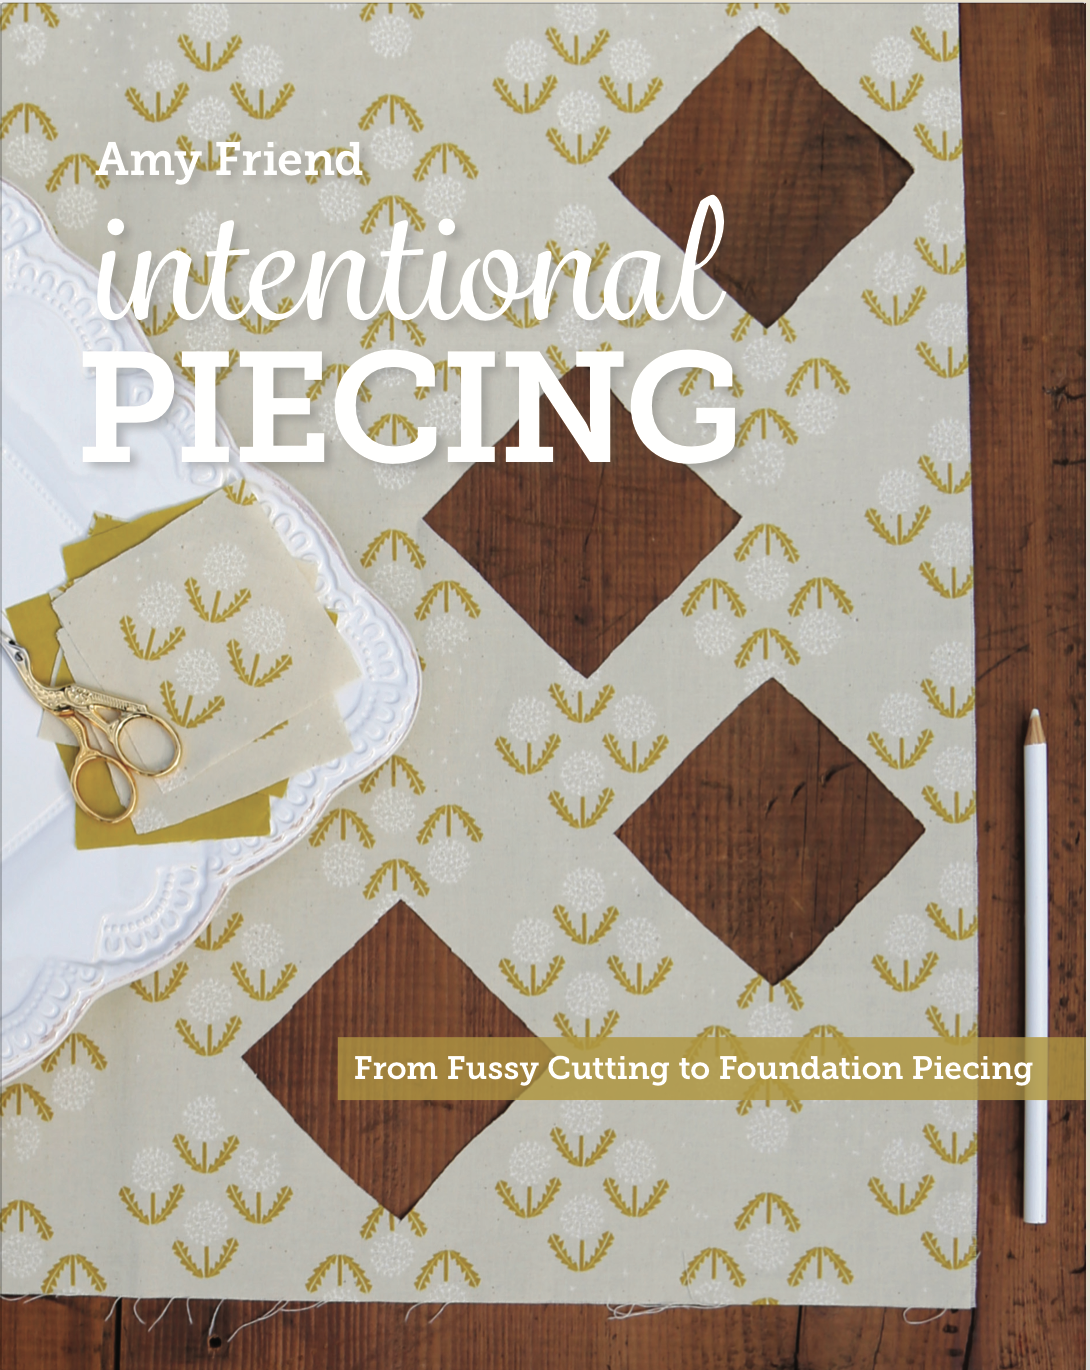
I have to tell you about a new book that I absolutely love. It is Intentional Piecing: From Fussy Cutting to Foundation Piecing by Amy Friend. You probably know who Amy is from her blog During Quiet Time and her many publications and patterns. The premise of the book is to use fussy cut fabric in clever ways. There are so many great foundation paper pieced blocks, but I also have some of the other projects on my list like the cute little clutch. I had the good fortune to be able to help with the book production at Lucky Spool too and it was so hard not to drop everything and make something from the book! I have been waiting to finally dive in and be able to share it!


Tell Me A Story Quilt Stitched Storytelling Event


Amy has a Tell Me A Story quilt stitched storytelling event going on right now. For every block you make and post to Instagram until June 1, you are entered to win a lovely bundle of fabric. The full details on it are here. The instagram tag #TellMeAStoryQuilt is fun to follow!

That stack of fabric on the left is the prize! Lots of good fussy-cut options there!

I dove right in and couldn't stop. These things are like block crack! They go together quickly and easily and it was fun to find a use for some novelty prints I've had stashed away. I seriously thought that I didn't have that many novelty fabrics before I started putting these together. I guess I have more than I thought. My theme is loosely fairy tales and childhood stories. That was an easy one to have on my mind since I have to small kids that I read to on a daily basis. I was impressed that when my daughter saw the blocks, she exclaimed "Mommy, these are all like story blocks!" I see some fun times looking at the little details and making up our own stories together.

Here are some of my favorite blocks out of the bunch I made:


I had so much fun making this beautiful, fun project and making it my own! I didn't use any background fabric in my blocks like in the gorgeous original and made up a little complimentary border. I've been in scrap busting mode so I figured I'd use up some odds and ends from my scrap bin.  The projects in this book are awesome for that! Now it is time to get it quilted but until then, the top is hanging up in my family room play corner already.

I used the same foundation pattern for the block to make the border.
It is a block with only the corners pieced in and then cut in half. Easy peasy modification!

Next up!

My next project from the book is the Stash Happy Tote. It will make a great teacher gift!


Discount!

Lucky Spool is offering a 30% discount on the book on their site! Use the code: FRIEND30

Thursday, May 7, 2015

Pinwheel Pincushion Tutorial & Beginning Paper Foundation Piecing


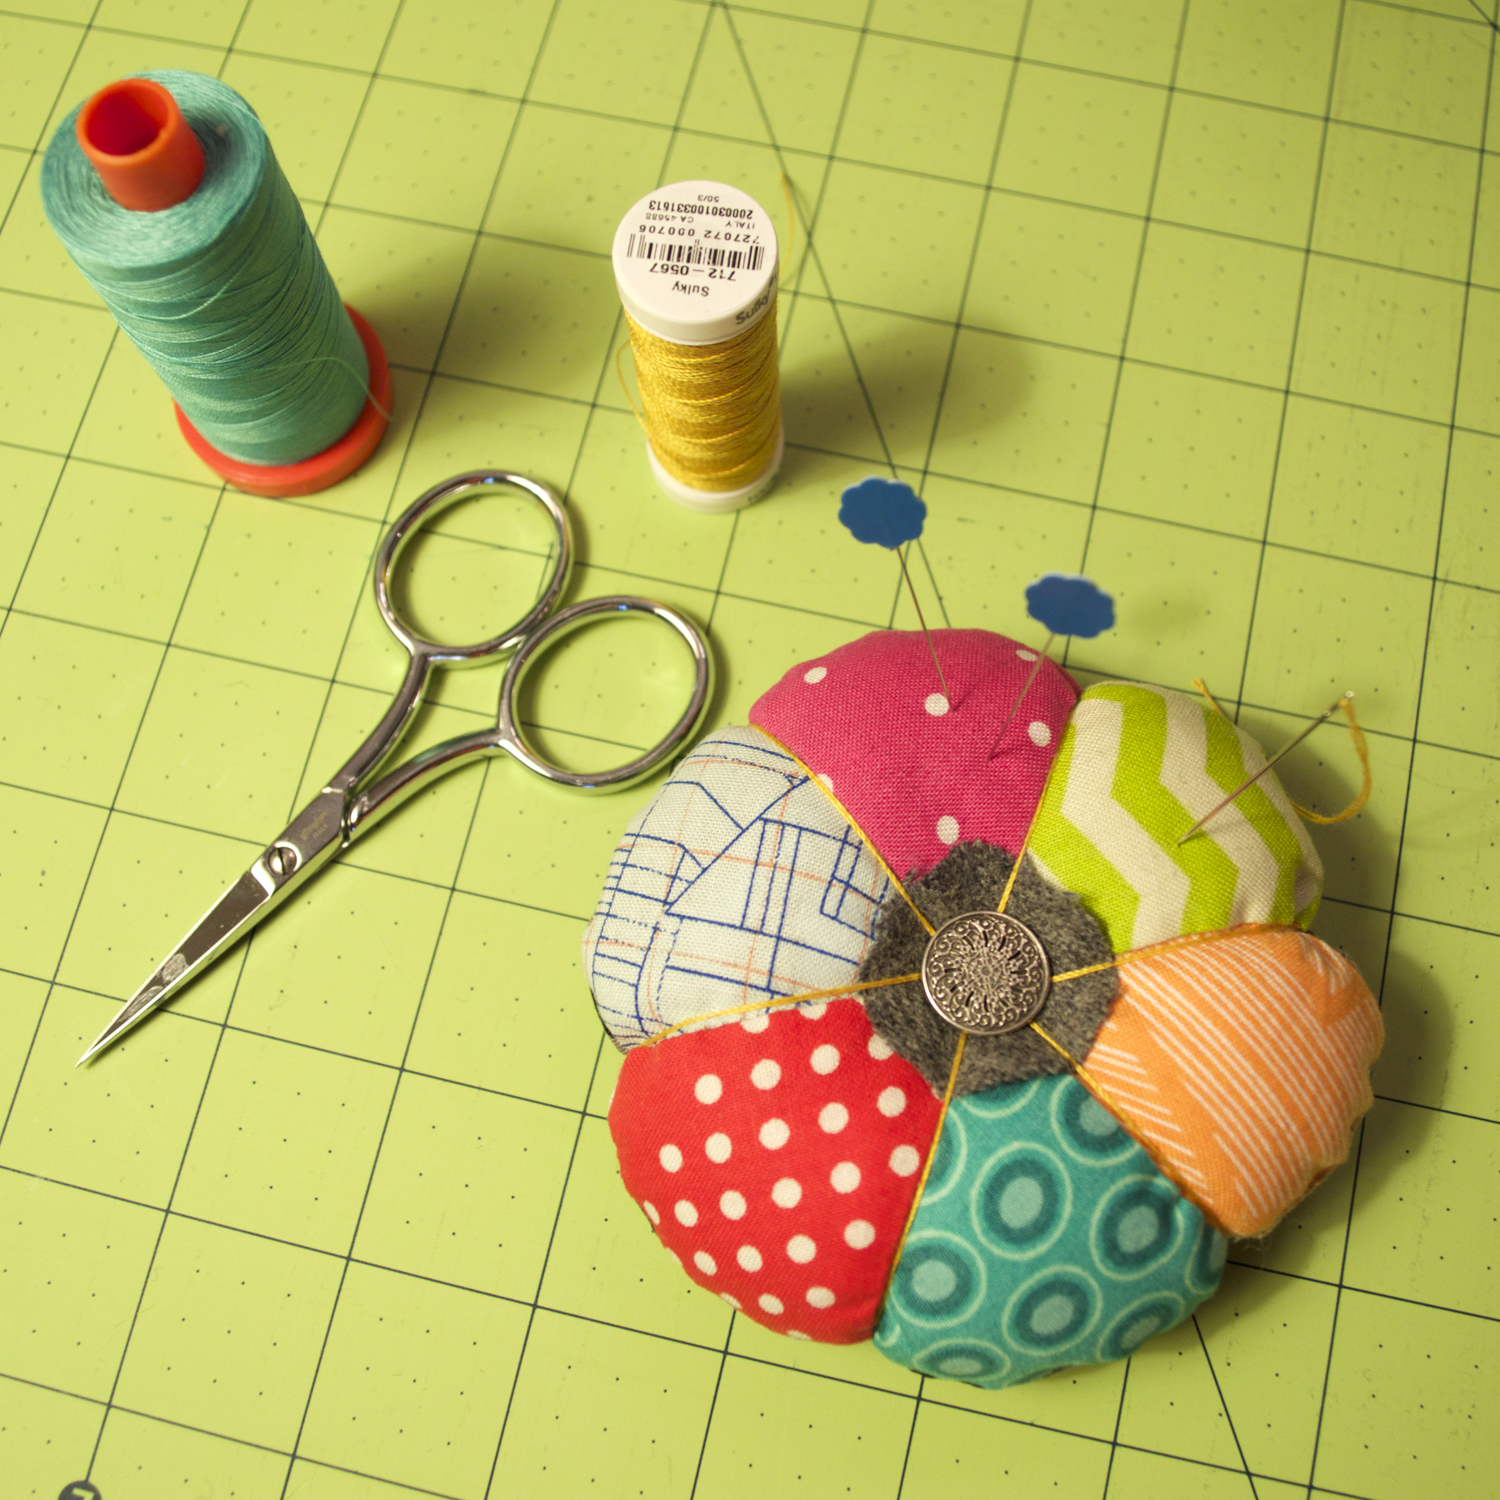
I just made this cute pincushion and thought I would share how I made it. Paper piecing can seem a bit intimidating if you've never tried it but this one is an easy one to do. I've explained it step by step for beginners.

Materials:


  • Printout of Pinwheel Pincushion foundations templates
  • 6 scraps of fabric for the petals, each approximately 3'' x 5''
  • 5'' square of fabric for backing
  • 1'' or so scrap of wool felt, cut into a circle
  • 1 shanked button
  • Thick thread for gathering: 12 wt or perle cotton thread, or double strand of floss
  • Long needle
  • fiberfill
  • crushed walnuts (optional)

Instructions:

1. Roughly cut out the foundation templates, 1/8'' or more from the outside black line.

2. Place two petal fabrics on the non-printed side of Template 1, right sides together, so that both will cover their entire wedges and past the seam allowance when sewn and pressed open. In my example, the printed side of the template is up, then the wrong side of the orange fabric, and then the right side of the green fabric. The orange fabric will be my center wedge and my green fabric will be my left wedge. The fabrics need to overlap at least 1/4'' past the sewing line for their seam allowance. In my example, this is the seam sewing line on the right side of the center wedge. It doesn't matter which wedges you start with. (Note: the foundation is a mirror image of the finished wedge placement.) I'm kinda lazy efficient and don't pin these but if it make you feel more comfortable, you can pin the pieces to the foundation to keep them in place while you sew.

3. Shorten stitch length to 1.5mm. Sew on the foundation line, going a stitch or two beyond the outer line/seam allowance.

4. Check that your wedges cover the entire wedge plus seam allowance. If ok, fold back paper on seam.

5. Line up ruler along paper fold at the 1/4'' mark. Trim excess fabric leaving a 1/4'' seam allowance. (Don't cut on the stitch line or paper!)

6. Flatten out foundation paper and press wedges open.
This is what the right side will look like at this point.
This is what the back/foundation side will look like at this point.
7. Repeat steps 2–6 to add third wedge. Once wedges are pressed, stitch 3-4 stay stitches in the seam allowance to tack down the outer corners of the wedge.

8. Repeat steps 2–7 for Template 2 to create other half of the pincushion top. Trim both halves on outside line. Do not remove papers yet!

9. Put both template halves right sides together. Poke a pin through the center tip of each half to line them up. Sew them together along the straight center line.

10. Remove the foundation papers. (Here is where the reason you reduced stitch length becomes apparent: it is much easier to tear the papers out!) Press.

The finished pincushion top
11. Here's my cheater shortcut. Instead of cutting out a template for the bottom circle, place the bottom square and pincushion top right sides together with the top on top.

12. Starting a couple stitches before one of the wedge seams, stitch all around the top with a 1/4'' seam allowance, leaving a gap by stopping your stitching a couple stitches past the opposite seam on the wedge you started with. Backstitch at the start and end. (Stitching just over those seam lines will reinforce the pieced top.) Trim excess bottom fabric.

13. Turn right sides out and fill about half with crushed walnuts and half with fiber fill. You can certainly skip the crushed walnuts but it gives the pincushion some nice weight. Stitch the opening closed by hand. 

14. Thread a needle (I used a doubled-up strand of 12 wt thread) with about a 30''+ tail. Make a knot at the end. Poke the needle through the top of the pincushion where the pinwheel wedges meet in the center. (The button and felt circle will cover the knot.)

15. Bring the needle all the way from the top to the center of the bottom and pull thread tight.

16. Bring thread back up around to the top. Thread the needle through the button and the center of the felt circle. Sew through the center of the top to the center of the back, lining up the thread with a wedge seam.

17. Sew through the pincushion for each wedge seam in this order: bring the thread around from the bottom along one of the wedge seams, sew through the button, sew through the center of the felt circle, sew through the center of the top to the center of the bottom and bringing it up around again on the opposite side. Keep thread taut to gather up the pincushion. Continue stitching until all of the wedge seams have been gathered. 

18. When all the wedges are gathered, sew the last wedge through to the back as in step 17, but instead of bringing it back around along a wedge seam, move it a couple threads over and bring it back up through the center of the back to the center of the front. Knot off under the button on the top. Now you are done!


Thursday, April 9, 2015

March Bee Sewcial blocks

Melissa requested transparency blocks using cool blues and greens with a little gray, in two sizes. Here are the blocks I made for her. I really enjoyed the challenge of achieving the transparency look.


This block is the first one I made. I doodled it on my computer and then made my own paper foundations to create it. It finishes to 14'' square. It would make a great pillow so I'm thinking of making another one.


This one is the second block that I'm giving her. It finishes to 9'' square. I made my own little quarter circle templates. Each quarter circle is 2 1/4'' finished. That led to some cursing but eventually I got a technique that worked. The key was glue basting the entire curve together before sewing, stitching with a small stitch length and slow sewing. The result was totally worth it, in my opinion!


This last one is staying with me. I again made my own paper foundation for it. I love the way it turned out but I trimmed it too short! I'll find a purpose for it someday!

Thursday, June 19, 2014

Lucky Spools


I made this little mini quilt for Susanne Woods, founder of Lucky Spool (hence the monogram letters and spools) and someone who really deserves a big thank you from me. That is putting it lightly. The quilt is a tiny little thing. I didn't measure it but I think it was around 10 or 12'' square.

Speaking of Lucky Spool Media, keep an eye on all the great books coming out from them. I'm biased because I contributed to one of them, but seriously, there are amazing titles that will be rolling out. Really amazing.

I got the idea for this quilt when I saw some First of Infinity block letters fabric my wheels started turning about how to do some kind of monogram and knew I wanted to put spools with it.

The blocks of the small letters in the fabric finish to 2'' so I needed a 2'' spool. I made my own paper piecing pattern for it and thought I'd share. They are easy to put together, considering it is a 2'' block made of 12 pieces.

Tuesday, May 13, 2014

Lone Starburst Mini


I made this Lone Starburst block into a mini for my Connecting Threads stand. (The paper piecing pattern for it is free over on Craftsy!) It is made of some scraps and a color-slubbed chambray. I got the chambray at Snappy Quilts but I can't remember who made it. I love it and should have written it down!


I quilted the heck out of it and really like the effect. I had originally tried some itty, bitty feathers in the center but that had to be ripped out. They were bad. Really bad. This is much better.

I just whip stitched it onto the holder. Works for me!


On a side note...
How do you manage your solids and wovens (or any fabric with no selvedge)? I haven't done much to keep track of mine. I have a solids card of Michael Miller solids to help identify those in my stash, but I've got lots of other brands too. I think I'm going to start just making my own selvedge marks. Nothing wrong with writing down what it is and what color in that area. Too bad I'm too late with that idea for my current stash!